This page describes how to install and uninstall PySwarm from your system.
Things to Know Before Installing[]
Here are some key points to keep in mind before you install PySwarm:
- PySwarm installation is now fully automated through a Windows standard .MSI installation file.
- The PySwarm package comes with two components: (1) a system component, which contains the necessary files to run and use PySwarm, such as PIA and the PySwarm script shell; and (2) a demos component, which currently contains six demo files for you to experiment and play with.
- The installer does not change anything in your system's registry.
- An uninstaller is automatically included. You can completely uninstall PySwarm at any time in three ways: From the Control Panel's "Uninstall or change a program" window; from the Start menu (PySwarm/PySwarm Uninstaller); and by running unins000.exe in the folder where you installed PySwarm.
How to Install PySwarm[]
Run PySwarm V0.6 Setup.exe. The following screen will appear.
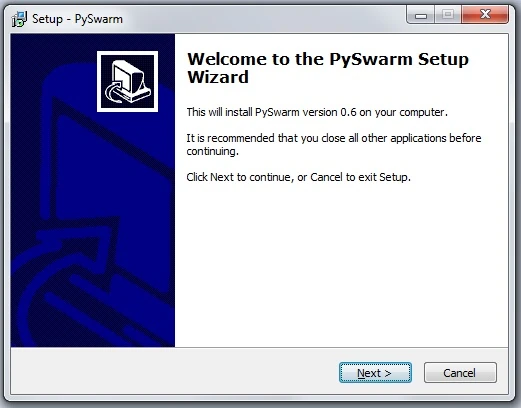
Click "Next" to proceed to the next window.
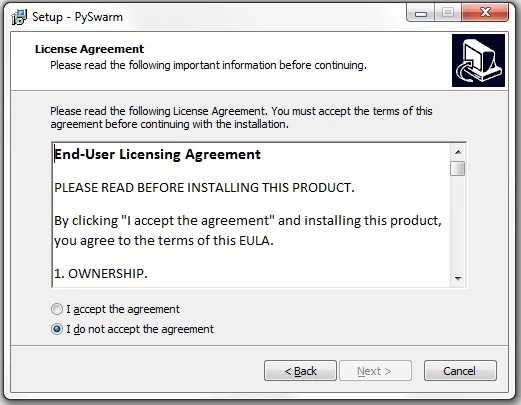
Please read the agreement before accepting, then click "Next".
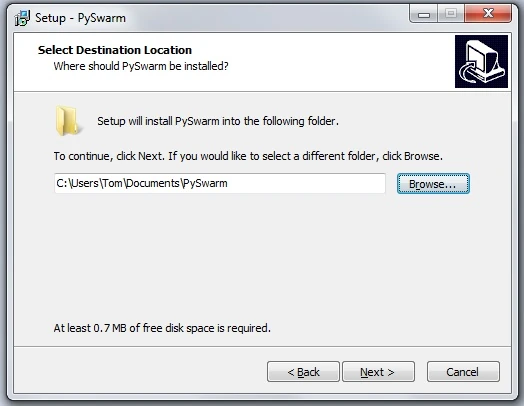
The installer folder will default to "My Documents/PySwarm." If you would wish to install the package in a different folder, click "Browse..." and select the folder.
NOTE: I highly recommend creating a separate folder for the PySwarm files.
Once you have chosen a folder, click "Next".
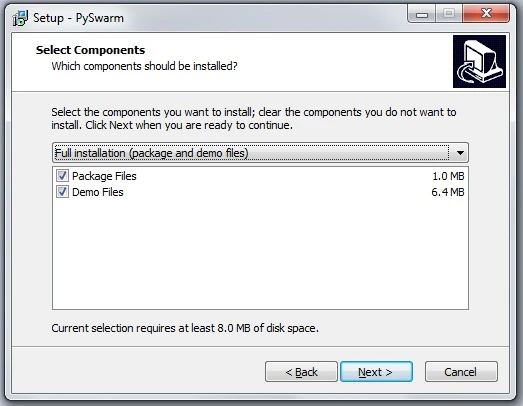
Select which components you would like to install. PIA (the interface app) and the PySwarm script shell are in the "Package Files" component. You can elect to download the demo files also available. (Currently, there are six demos available - .CAR and .PYP files.) Demo files provide an opportunity play, experiment, and learn how PySwarm works.
Click "Next".
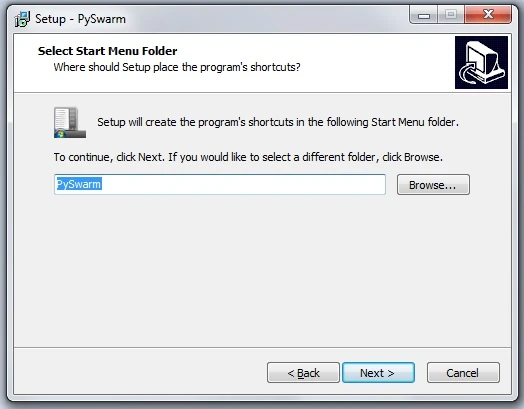
This is the name of the folder under which PIA will appear in your Start menu. Click "Next" to proceed.
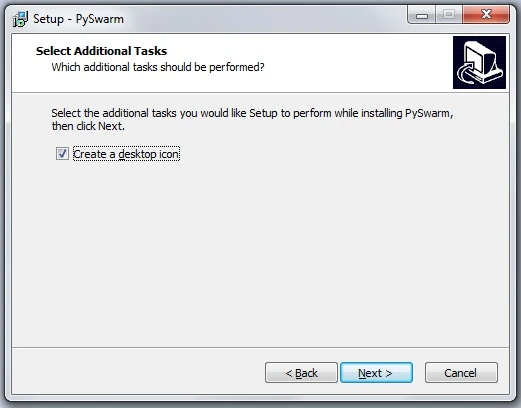
You have the option to create a desktop icon. Uncheck this box if you do not want one added. Click "Next" to proceed.
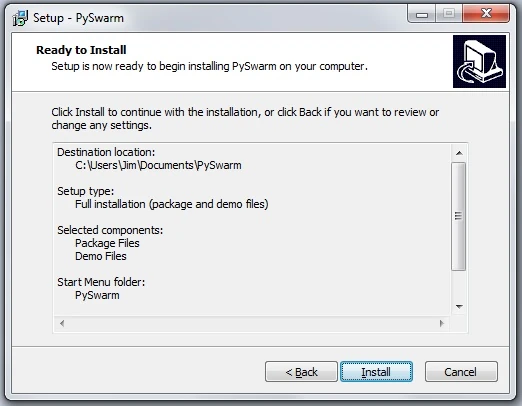
The list shows the options you selected for installation. Click "Install" to start the installation.
Once the installation completes, the following window will appear.
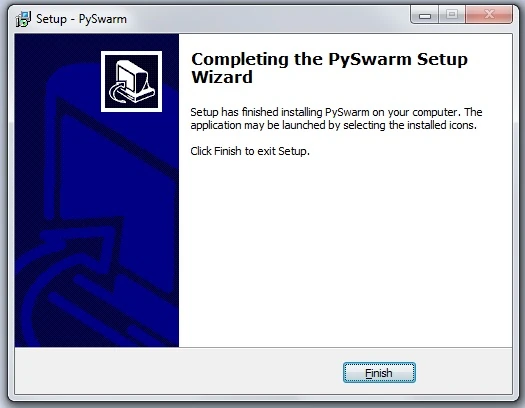
You have completed the installation. Click "Finish" to exit.
If you elected to have PySwarm added to your Start menu, you can launch PIA from there, or from clicking "PIA V2" in the folder where you installed the package. Note: Once you have run the application the first time, two new files will appear in the application's directory.
- "Script.pia" - Contains the string that points to the current PySwarm shell needed to generate your PySwarm scripts.
- "Projects.pia" - Contains the parameter settings for your PySwarm projects.
You should not edit or delete these files, as they contain important settings and information PIA uses related to your projects, and how to generate PySwarm scripts. However, if for any reason they are deleted or corrupted, PIA will recreate them. To get started using PySwarm, I strongly suggest you begin with this wiki page: here.
Once you have installed PySwarm, you will want to set up PIA to begin generating PySwarm scripts. Go here.
How to Uninstall PySwarm[]
You can completely uninstall PySwarm at any time in any of three ways.
- From the Control Panel's "Uninstall or change a program" window

- By running unins000.exe in the folder where you installed PySwarm.
- From the Start menu (PySwarm/PySwarm Uninstaller) (only if you added PySwarm to your Start menu)
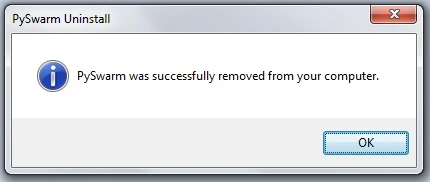
You will be asked to verify you want to completely remove PySwarm from your system.
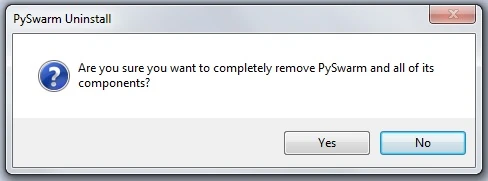
Click "Yes" to proceed.